Saturday, March 31, 2012

Flea Market season has begun!!


Hooray!!  It is offically flea market season!  (in the midwest that is!)  So in honor of National Flea Market Day, (I made that up) I thought I would share some prints I bought at the Kane County Flea Market last season. 

 My husband came with me the day I got these pictures, so it was a pretty quick day. His patience at flea markets runs out after an hour or so!  :)

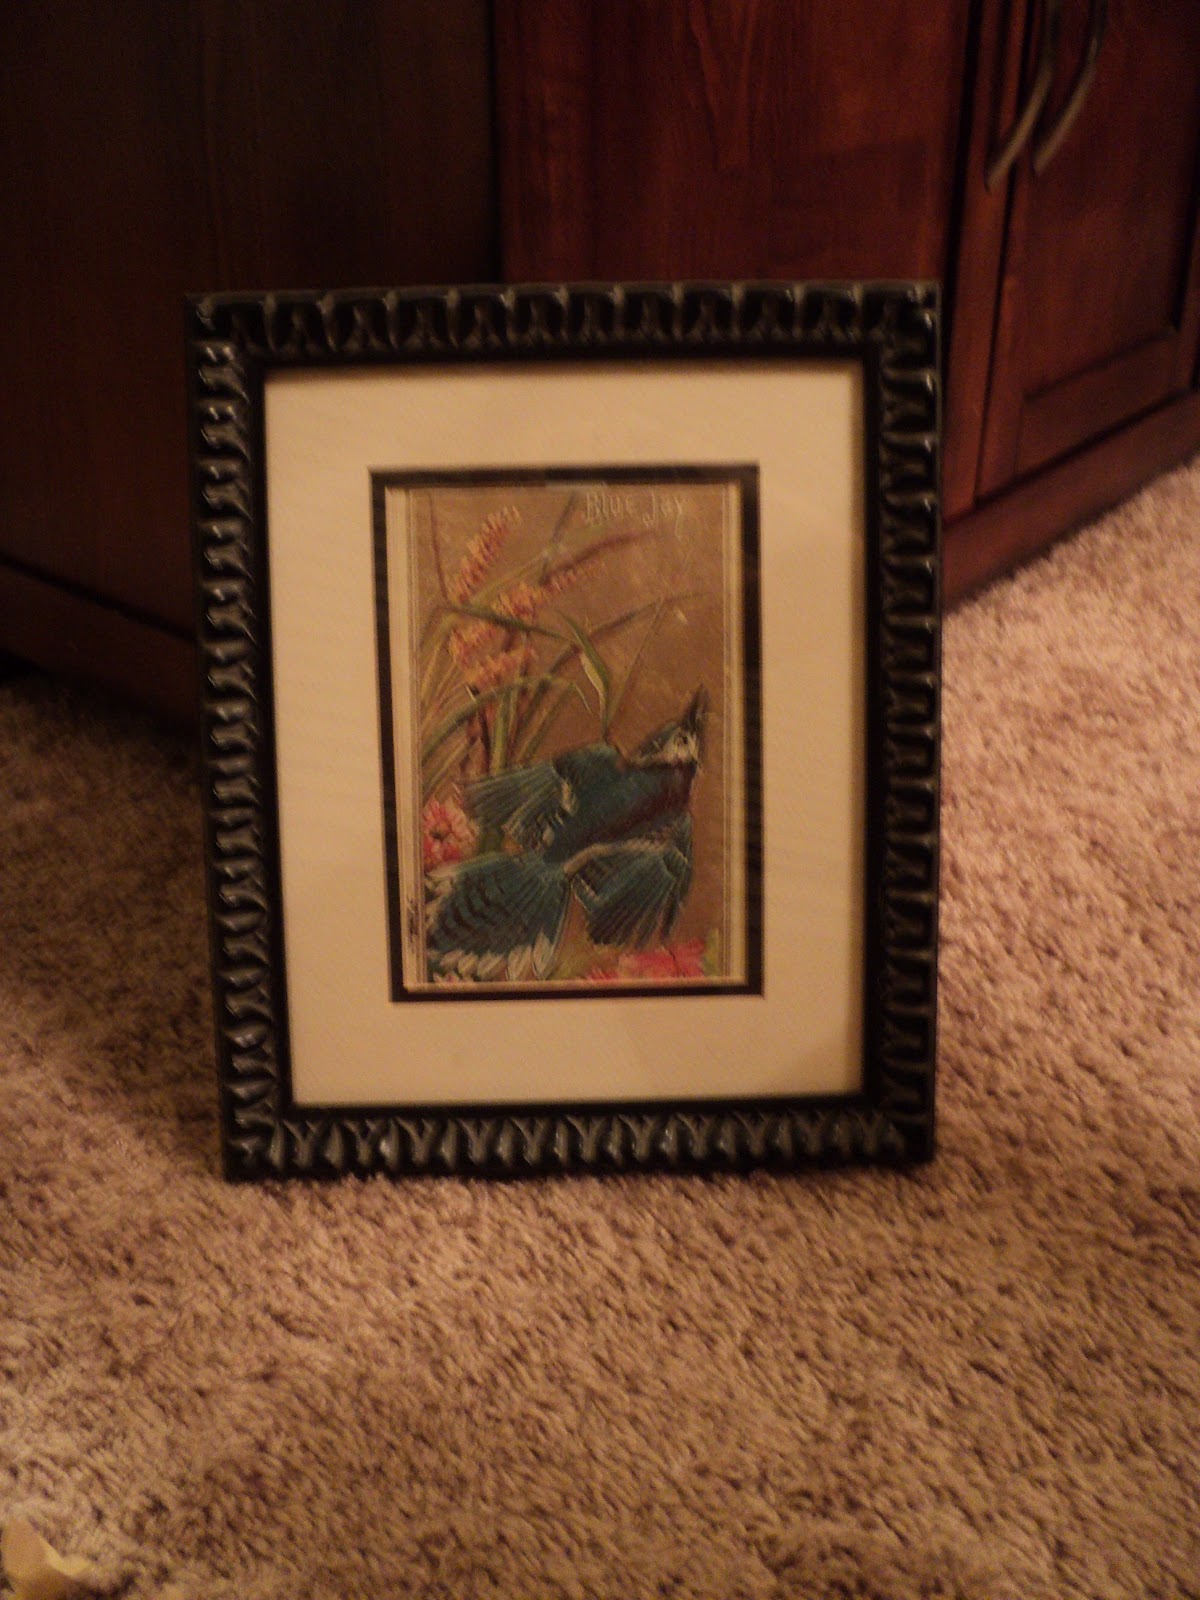
I saw these two prints and liked them right away.  I liked the chipped frames and the vintage look they had.  I managed to get both prints for $20.00.


When I got home I googled the artist of the prints J.L. Provost.  He was a french artist that lived in the late 1700's.  The stamp on the back of these prints says Friedmans' Art Store-Savannah, GA.  The store has been around over 100 years. 

The prints are also signed and each one is numbered.  I found some online for over $500 for one, I also found some on Ebay for  $100 for a set of 3. 


I bought these prints because I loved how they looked.  I also thought $10.00 a piece was a great deal.  They may be worth just that as well.  The fact that they came from an old store in Savannah, GA is pretty cool though!


 Finding prints like these are what I love about flea markets.  I am pretty excited about the upcoming flea market season!!  You just never know what you might find! :)


Friday, March 30, 2012

Before and After living room~

  I don't know about you, but I love looking at before and after pictures of rooms! It is my favorite part of decorating.  My living room has gone through quite a few changes over the years. The biggest change has been this last one!

Here is my living room before.  The paint color is Baguette by Sherwin Williams.  I loved this color, and used it in several rooms in our home.  Most of the room was brown with red accents.  I loved warm and cozy at the time!


Here is the after.  I first lightened up the wall color.  I went a few shades lighter on the same Sherwin Williams paint strip.  This is Whole Wheat. I also added cream curtains in place of the deep red ones.  I swapped out a few accent tables and end tables.  Adding the light yellow table and the glass table helped soften the room.  Both tables were flea market finds.  I then added blue accents with a pop of orange!


I used cream, gold, and blue pillows in place of the red and brown ones.


I added the white weathered table and white accents by the front window.  Spray painting the two chairs a creamy white and swapping out the fabric gave the chairs a more casual look.


Before:


After:


Before:


                                                                          After:


My taste is changing from warmer tones to cooler ones.  I did not think that would ever happen because I really loved warm and cozy.  I still feel cozy in this room, but the brighter lighter colors make me sooooo happy!  :) 

Wednesday, March 28, 2012

Burlap cork board!

Quick and easy burlap project!

I am in the process of redecorating our home office.  I will post pictures of the completed room soon!  For now I want to share one of the easy projects that I did on the wall in our office.


 I wanted a corkboard of some sort near my desk.  I like to be able to have important papers right in view.  I looked around and found some I liked at Ballard Designs. 


 These boards range from $49.00-$219.00. 


So........ I decided to make my own.  I ran to Hobby Lobby and purchased a corkboard for $3.99.  When I get an idea in my head I do not wait, it gets done right then!


I had leftover burlap from when I recovered my hall bench.  I cut a piece to fit over the front of the corkboard. 


I used my staple gun and stapled the burlap to the backside of the corkboard. I then added the nail head trim. I tapped each one in with a hammer.  It was very easy to get the nail heads in the cork.

 The nail heads were leftover from a previous project, I love being able to use stuff I have around the house!


Here it is completed!


This project could not have been any easier.  It cost me a total of $4.00 since I already had the burlap and the nail heads.  I have a few other projects hanging on that wall that I will share soon!  :)


Monday, March 26, 2012

Loving Blue!


A Sea of Blue.........


This powder room used to be brown.  Brown walls, brown pictures, brown rug, brown towels......  You get the picture. Since I have been on my "lighten up the house and add more color kick",   it was time to rid the powder room of all its brown!  I do not mind some brown, I acutally like the color.  I just had too much of it!

After looking at dozens and dozens of blue paint colors, I decided on Sherwin Williams Sea Salt. (I love the name too!) It is such a pretty soft blue. We had just came back from a very relaxing beach vacation so anything that reminded me of the water was perfect!


Other than the paint I did not have to do much to this room. I already had the towel/toilet paper holder. It is from Kirkland's. (years and years ago!)  It was a dark brown metal and  I was going to get rid of it. I decided instead to spray paint it silver and I am so glad I did!   The blue and gold rug is from Pier 1. I love how it looks on the wood floors.


I found the white antique mirror on one of my flea market excursions.  I have a thing for old mirrors!  The wall sconces were already there, I just changed the candles from dark brown to teal. The wood vase in the corner with the green grass was there as well.  I decided to leave it there, I like it with the blue walls.

 
The hand towels are from TJMaxx.  I like to get my towels from either TJMaxx or Homegoods.  They have a great selection and they are priced well. The candle holder is another flea market find.  (just for looks of course!)


 I found the fun little flower hooks at Pier 1.  Soft blue towel is from Homegoods.


It is amazing what a little paint can do.  I am so happy with this paint color.  I think it looks great with the silver and just TOUCH of brown. :)


Saturday, March 17, 2012

DYI Drum Shade Pendant!

         My $5.00 DYI Drum Shade Pendant!


I had been looking to swap out my dining room light fixture for awhile.  I decided I wanted a drum shade pendant light. 


I love this one from Crate and Barrel.  $149.00


                  Or this one from Ballard Designs.  $169.99 
                      (not sure why this came out so blurry!)    


This got me thinking.  I had a shade I was not using any longer sitting in my basement. I decided to make my own light fixture.

My husband and I went to Lowes and  found a light fixture on clearance for $5.00.  It was very similar to the one above.  It was on a clearance table without a box, it was perfect!


My husband installed the Lowes pendant in a matter of minutes.  We took off the frosted glass shade and slipped on the drum shade. 


This is the light fixture we had before.  (I was able to use it in another room with some changes!)


I like the simple lines of the new one so much more! 
For only $5.00 I love it even better!!

Sunday, March 11, 2012

A very special place~

My most cherished wall.......


When we first moved in our house I had two pictures on the stairs of fall leaves. I liked the pictures, but one day I decided I wanted to look at something that meant something to me! I decided to do a picture gallery!


I gathered up some very special family pictures and brought them to Target to have them made into black and white photos.  I had quite a few frames already so I just had to buy a few.  I hung them in no particular order.  I am not one to measure so I just kind of put them up there! Now it has become a wall filled with family and it means the world to me!


This window on the ledge is from a flea market in WI.  It was $5.00.  I decided to give it the look of mercury glass so I gave Krylons Looking Glass Spray a try.  I love it!  It is $12.00 at Hobby Lobby for a small bottle, but alittle goes a long way.  (and you can use a 40% off coupon on it as well)


It is very easy to use.  I sprayed the backside of the glass in thin layers.  I did about 5 layers.  It dried very fast in between layers.  Then I took a spray bottle filled with water and vinegar and sprayed right on the painted glass.  (after it was dry)  I took paper towel and rubbed random spots to give it the mercury glass look.  


These awesome mirrors are from Anthropologie for $698.00.  I love them! 


This mirror is from Pottery Barn and is so pretty!  It is $599.00


Here is mine again and it was under $10.00!  Love that even more!  :)


                      This really is my favorite wall in our home!

Thursday, March 8, 2012

FREE FREE FREE!


Another FREE decorating project!

 When I started looking at decorating blogs one of the first ones I found was thriftydecorchick.blogspot.com.  I have found some really neat ideas on her blog.  This next one is a great one for me since I change things in my home pretty often.  It is wall art and it is free!

I started with these pictures.  I have had them for years and years.  I have always loved them, they went great with my reds and golds I had in my home.  Since I have been changing out my colors, it was time for a change.


The first thing I did was go to nyc digital gallery.  This web site is awesome!!  It gives you free access to images digitized from the New York Public Library's collection.  You can find some really neat prints from historical maps, to vintage posters, to nature prints, and birds! I love birds so this was my favorite area to search.  It is also neat to see the date the prints are from, I love the old ones!


I found these bird prints and knew they were the ones!  It was a very easy project.  Once I found the prints I wanted, I copied and pasted them to a Word document.  From there I enlarged them and printed them out.  (this I also learned from Sarah's blog) I used some antique looking stationary I already had which gave the prints an even more vintage feel.  You can also use card stock or just regular printer paper. Then I took the backing off my pictures and popped out the old pictures and put the new ones in.  I used the same matting.


I thought the bird prints looked fine in the existing black frames.  But after a few weeks I decided to switch them up abit more.  In comes my favorite spray paint!  :)


I spray painted the frames blue and sanded them to show some of the black through.  NOW they are done!  


In the past I would have went shopping and bought new pictures.  (which there is nothing wrong with doing!)  I do think it is pretty neat re using things I already have.  It saves money of course and it makes it much more special.  I like knowing that it is a one of a kind and I did it myself! :) 

**I can't end my post without giving a shout out to my wonderfully talented sister in law Lia.  I have mentioned my sisters on my last post and talked about all my decorating with my sister Kim.  I totally forgot to mention Lia who has been my phone decorating buddy for more years than I can count.  We live many states away from each other, but always have a hand in what the other is decorating!  I can't wait to share some her amazing projects!  :)

Sunday, March 4, 2012

My FREE wreath!


I love free projects!

  I have 3 sisters, but the one that I refer to most on my blog is my sister Kim.  She is the one who shares my passion for painting, old things, flea markets, etc.  So while I have 2 other sisters, you will hear about Kim more often.  (the other 2 sisters think we are kind of crazy anyways :)  )

On that note this next idea is one Kim discovered. (we share ideas quite abit!)   We are constantly sending each other pictures of cool things we see when we are out and about.  Then we try to do it ourselves!  She sent me a picture of a really pretty silver twiggy wreath that was at a floral shop near her home.  It was $89.00!!  

 She went  Michaels, bought a twig wreath for $19.99,  spray painted it silver and had her wreath!  Total project under $25.00!


Her finished wreath looked just like the one above.  Although I found that one online at Santa's Quarters for $99.00 for a set of two!


I went in my basement and found this old wreath I did not use anymore.  (sorry for the blurry pic.) 


I cut off all the flowers......


  In a matter of minutes I had my twig wreath ready to be painted.


I used some silver spray paint I had used for another project.  It was Rust-Oleum Metallic Silver.

I sprayed one side and when it was dried flipped it over and sprayed the other.  This helped cover all the little twigs.


I know this is probably more of a Christmas wreath but I plan to hang it up all year long.  I love it against the light blue walls!


This little project was fast and free!  My most favorite kind of project, and I love how it turned out!  Thanks Kim! :)