Showing posts with label thriftydecorchick. Show all posts

Monday, June 11, 2012

DIY Tables....


Ever needed a little table to sit next to a chair to hold your coffee or a book?  I did and I could not find one the right size anywhere. So I found out how to make my own....

  I love decorating blogs, which is of course why I started my own blog. One of the first blogs I started checking out thriftydecorchick.blogspot.com  She has some great ideas!  One of her posts was making a cute little accent table.  So easy!!!!  So easy in fact I made two!!!


 This one is in our bedroom next to a reading chair.  Perfect for holding a cup of tea!


This one is next to a chair in our family room.  This one is great for holding a glass of wine and a good book!  :)


Supplies needs for tables:

*Wood plate


I got mine from Hobby Lobby. It is 14" round unfinished wood.  About $6.00 with a coupon.  Since the wood is unfinished I sprayed a coat of primer on it first, otherwise the paint soaks right in.  I then used Rust-Oleums Heirloom White to cover the plate.  I love that color.  I sprayed a few coats on the plates and then sanded up the edges abit.


*Craft mirror

I got my mirrors at Hobby Lobby as well.  The size is 12" and they were about $3.00 each with a coupon. 


*glue

I love this glue.  It is super strong and it dries clear!  Also from Hobby Lobby.  Alittle goes a long way!

*Base:tall candles holders.

I used two different kinds of candles holders.  The glass base is a candle holder I found on clearance at Homegoods for $7.00.  I thought the glass would be pretty!  The other base is a wood candle holder I had in the basement.  I spray painted the wood candle holder Heirloom White.

Now is the simple part.  After your spray painted plate is dry, glue the bottom of the plate to the top of the candle holder.  Let the glue dry.  Next place the mirror on top of the wood plate, it fits in the grooved area of the plate really well.  I did not glue the mirror to the plate, just fit it on top.

That is it!  EASY!!!! 


I LOVE these little tables.  They are unique, inexpensive, and so simple to make!! Thanks Thrifty Decor Chick!  :)


Thursday, March 8, 2012

FREE FREE FREE!


Another FREE decorating project!

 When I started looking at decorating blogs one of the first ones I found was thriftydecorchick.blogspot.com.  I have found some really neat ideas on her blog.  This next one is a great one for me since I change things in my home pretty often.  It is wall art and it is free!

I started with these pictures.  I have had them for years and years.  I have always loved them, they went great with my reds and golds I had in my home.  Since I have been changing out my colors, it was time for a change.


The first thing I did was go to nyc digital gallery.  This web site is awesome!!  It gives you free access to images digitized from the New York Public Library's collection.  You can find some really neat prints from historical maps, to vintage posters, to nature prints, and birds! I love birds so this was my favorite area to search.  It is also neat to see the date the prints are from, I love the old ones!


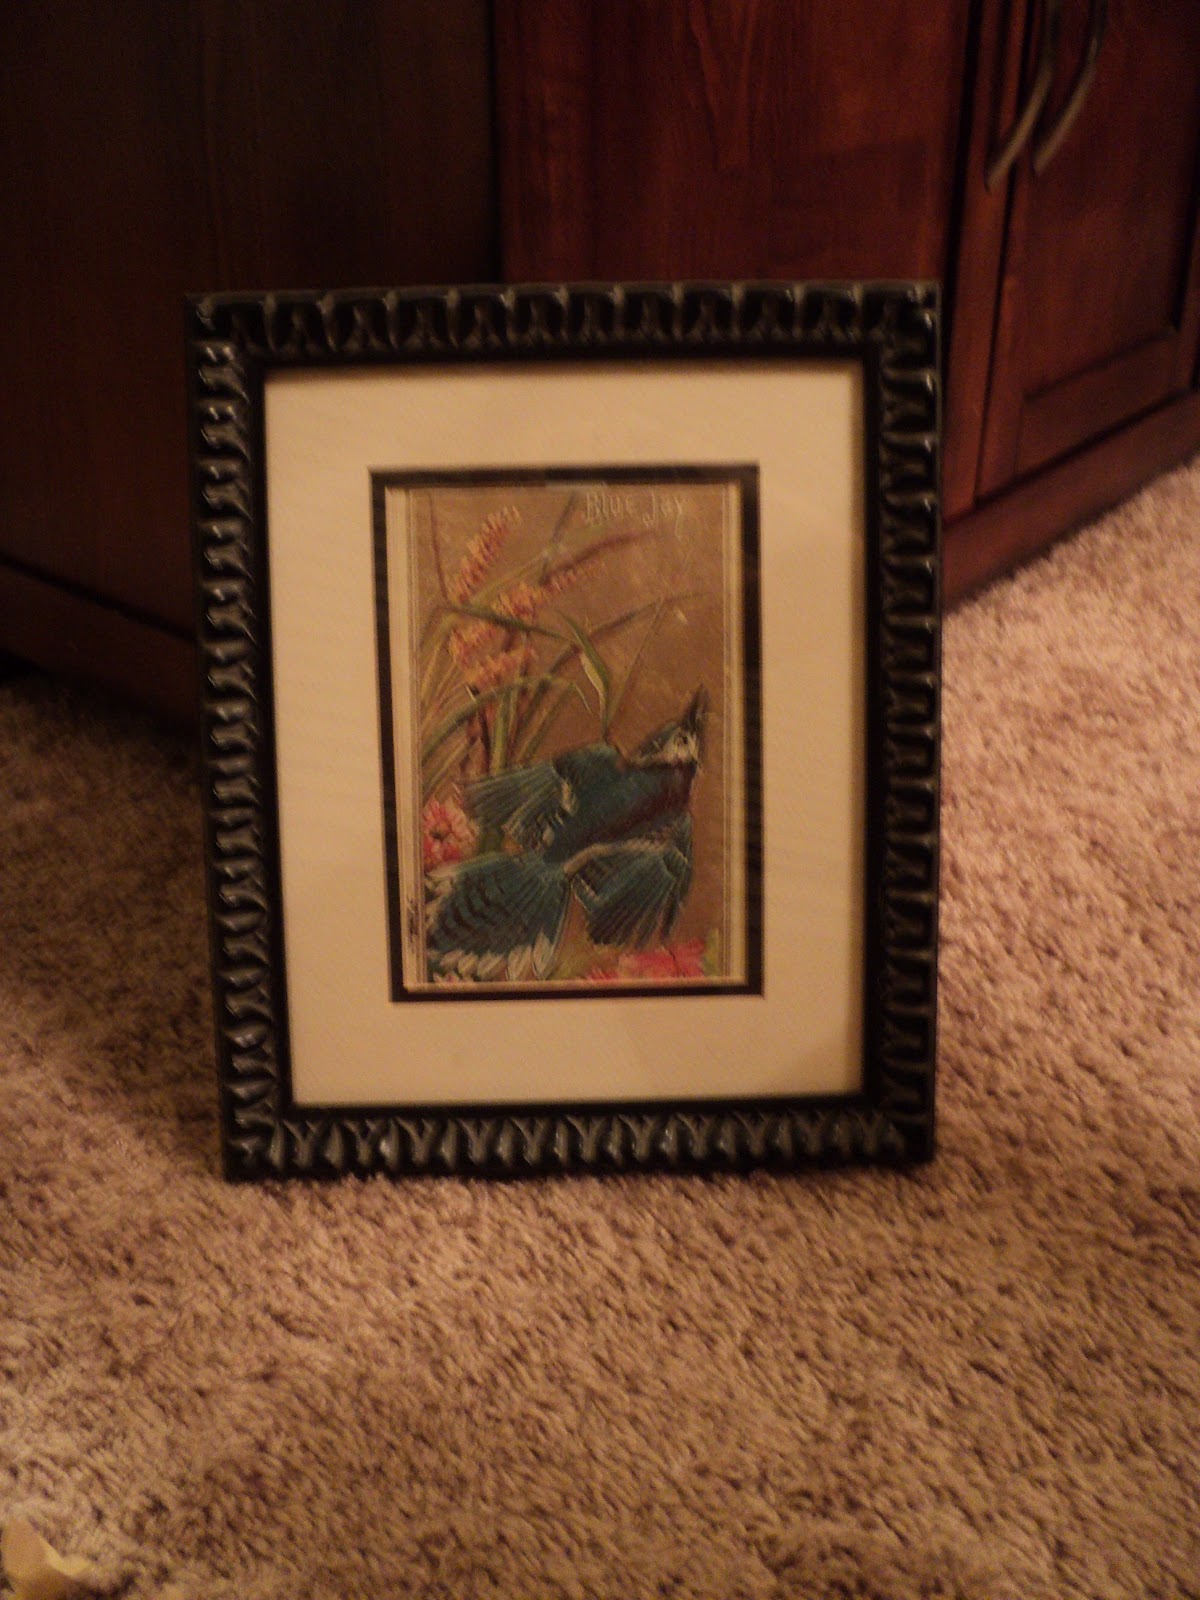
I found these bird prints and knew they were the ones!  It was a very easy project.  Once I found the prints I wanted, I copied and pasted them to a Word document.  From there I enlarged them and printed them out.  (this I also learned from Sarah's blog) I used some antique looking stationary I already had which gave the prints an even more vintage feel.  You can also use card stock or just regular printer paper. Then I took the backing off my pictures and popped out the old pictures and put the new ones in.  I used the same matting.


I thought the bird prints looked fine in the existing black frames.  But after a few weeks I decided to switch them up abit more.  In comes my favorite spray paint!  :)


I spray painted the frames blue and sanded them to show some of the black through.  NOW they are done!  


In the past I would have went shopping and bought new pictures.  (which there is nothing wrong with doing!)  I do think it is pretty neat re using things I already have.  It saves money of course and it makes it much more special.  I like knowing that it is a one of a kind and I did it myself! :) 

**I can't end my post without giving a shout out to my wonderfully talented sister in law Lia.  I have mentioned my sisters on my last post and talked about all my decorating with my sister Kim.  I totally forgot to mention Lia who has been my phone decorating buddy for more years than I can count.  We live many states away from each other, but always have a hand in what the other is decorating!  I can't wait to share some her amazing projects!  :)