Well, it has been awhile since I posted. I have been swamped with projects and work and have not sat down to blog. I have been showing a lot of homes this week! Love that! I also have sold every table so far that I have re done! I even sold our kitchen and our dining room table. (more on that another time...) It has been a little nuts.
One of the big projects I have been working on is refinishing our old oak table. TJ and I bought this table about 20 years ago and it was the first "nice" piece of furniture we ever bought. It has held up very well, two little kids did not even put a knick in it! When we moved in this house it became a game table in our loft and then eventually moved down to the basement. After all that it is still in excellent condition.
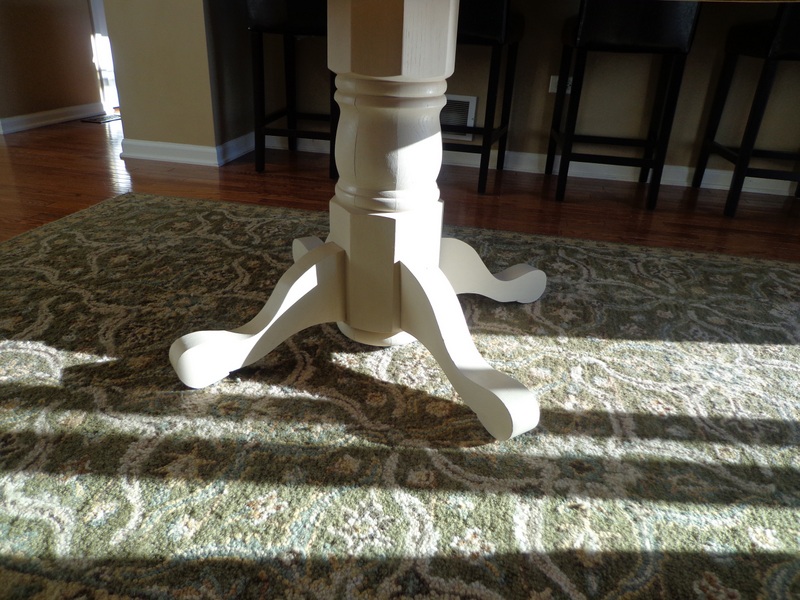
SO.......I decided any table as sturdy as that deserves to stick around. I was not thrilled with the honey oak color any longer so decided to refinish the top and paint the pedestal bottom.
**see that scratch? We had this table only a short while and were still being very careful with it. We were in the process of putting our house on the market and had a mortgage lender coming to our home. He put his big file folder on the table and put that scratch in it! I was sooo upset! Kind of funny to think of that so many years later!
OK back to my project....
I have done small wood refinishing projects before so figured this would be easy. WRONG. This was one of my hardest projects to date.
I had purchased a palm sander a few months ago so decided to use that. I could have used a chemical stripper first but decided I would rather just sand away. So sand away I did. It took forever!! It was also very messy!
A few things I learned about sanding. It takes a lot of patience if you want it done well. First the coats of polyurethane came off. After that the honey oak colored stain. Then I was down to the bare wood. I started with a heavier grit sandpaper and finished with a fine grit to smooth the surface. This part was tedious but it was the easiest part.
After I was sure I had it all sanded evenly I vacuumed the table really well and then wiped it down with a cloth. Now I was ready to stain!
I decided on Varathane Stain in Espresso. I wanted it nice and dark. I thought this was going to be the easy fun part. WRONG again. I made sure I bought a good stain brush and went to work.
This is after one coat of stain. Uneven and blotchy, but it was only the first coat.
After two coats of stain it was still blotchy and uneven! Worse actually!
Now at this point you will not get anymore progress pictures. This project stressed me out and I could not even think of taking pics of it!
Next I went to Menards and asked why I was having such a problem getting the stain even. They told me that with oak it should stain evenly without using any wood conditioner but to go ahead and try it to see if it helps.
Only two of the leafs were really bad so I completely sanded both those down. Ugh!!! Again no pictures! I was too mad. After I cleaned the bare wood I applied the wood conditioner and let that dry a day.
I re stained it again the next day only this time used a foam brush which seemed to work abit better. I was finally ready to bring the table inside.
WELL a few hours later two really light spots appeared again and I almost cried. I was so over this table!
My son is in woods class at school and went and got a paper towel and applied stain to the two light areas and wow!!!! It worked! No idea how that made the stain darken that area and I don't care. I am just so happy it worked!
I then applied 3 coats of semi-gloss poly. I lightly sanded in between each layer with 220 grit sandpaper. I let each application dry 24 hours.
Well, this was probably was of my wordiest blogs yet. Sorry about the lack of pictures. This project got the best of me. Probably not the best week to start it when I was pressed for time as well.
Stay tuned for more pictures of the finished table! It actually turned out pretty great!